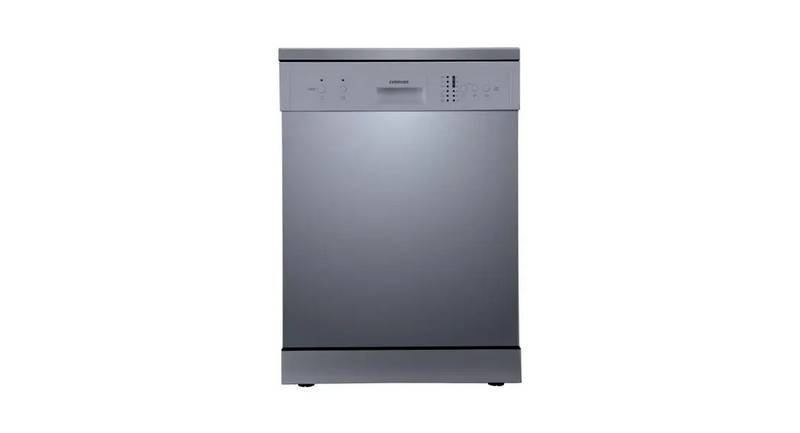
comfee CDC22P1AWW Compact Dishwasher


…is how I clean!
CDC22P1AWW
Quick Connection
Installation Guide
This guide will help you get started, for full details,
please refer to the instruction manual.
Parts provided
1
You’ll soon be enjoying your new appliance
Quick connect hose components as follows:
Locking collar
Female threads
Inlet hose
connection
Inlet port
Sealing ring
connection
Male threads
Red pressure
relief button
Quick connect
connection
Inlet Hose
Faucet Adapter
Quick Connect
Common connect hose as follow:
Inlet port
connection
59’’ inlet hose
Inlet Hose
Inlet Water Connection
2
Bringing it all together
METHOD 1 : Direct Connect with Faucet
>>
Remove aerator
2
Screw adaptor
1
Aerator
1
Take the existing aerator off your faucet.
Screw the faucet adapter onto (or into) the faucet tap.
Check for leaks (Use Teflon tape to eliminate if necessary).
2
IMPORTANT:
Please confirm whether the supplied adapter is suitable for your faucet tap.
If not, please contact your local plumbing supply center where adapter is
available for purchase .
Faucet Adapter
Back of dishwasher
lnlet port
5
4
3
Quick Connect
6
Power cord
Drain hose
Drain hose
Inlet port
Connect the star-shaped connection of the inlet hose onto the inlet port on
the back of dishwasher.
Connect the circular connection of the inlet hose onto the shorter male of
the quick connect.
Attach the quick connect onto the faucet adapter by pulling down the locking
collar on the quick connect.
Slowly open the hot water line and check for any sign of water leaks at all
hose connections.
3
4
5
6
IMPORTANT:
Once you open the water supply line, the inlet hose will be pressurized.
If you want to remove the quick connect from faucet adapter, please close
the faucet first and then press the red pressure relief button to relieve water
pressure before taking off the quick connect.
METHOD 2 : Connect Under Counter
>>
Back of dishwasher
Power cord
Drain hose
Inlet port
Counter
Drain hose
A
lnlet port
2
B
1
only for male ¾“
40 mm
Connect the water supply hose to a threaded 3/4(inch) connector and make
sure that it is fastened tightly in place.
1
IMPORTANT:
If your inlet hose is not a 3/4 inches male threaded, you'll need an adapter to
ensure a proper fit.
Connect the water drain hose. The drain hose must be correctly fitted to avoid
water leaks. Ensure that the water drain hose is not kinked or crushed.
2
IMPORTANT:
If the water pipes are new or have not been used for an extended period of time,
let the water run to make sure that the water is clear and free of impurities. If
this precaution is not taken, there is a risk that the water inlet can get blocked
and damage the appliance. Please securely fix the drain hose in either position
A or position B.
Using Your Dishwasher
3
Let’s get started
>Program
>Function
Press to select Extra drying,
Extra cleaning or Express.
The related icon will
>ON/OFF
Prss to turn ON/OFF
the dishwasher.
1
2
3
Press to select wash cycles.
The related icon will
be lighted on screen.
be lighted on screen.
>Child Lock
>Delay
Press to delay start your
dishwasher. Press once to
add 1 hour each time.
>Start/Pause
Press to start or pause the
dishwasher.
4
5
6
Press to Lock the program.
The related icon will
be lighted on screen.
Before first use :
Fill the dispenser of rinse aid and detergent
>>
IMPORTANT:
To get the best performance from your dishwasher, read all operating instructions
before using it for the first time. Clean up any rinse aid spilled during with an
absorbent cloth to avoid excessive foaming during the next wash. Don’t forget to
replace the dispenser's cap before you close dishwasher door.
Troubleshooting
4
We are always here to help
If you require any technical guidance or find that your washing machine is not
operating as intended, a simple solution can often be found in the troubleshooting
section of the Owner’s Manual.
Commonly seen error codes
Error Code Description
Possible Cause
E1
Longer inlet time.
Faucets is not opened, or water intake is
restricted, or water pressure is too low.
E3
Not reaching required
temperature.
Malfunction of heating element.
E4
Ed
Overflow.
Some element of dishwasher leaks.
Failure of communication Open circuit or break of wiring for the
between main PCB with
TFT PCB.
communication.
For further assistance, feel free to contact us at 1-866-646-4332 with the following
information ready:
Model No.
CDC22P1AWW
Serial No.
(You can find it on XXX)
Date of Purchase
Problem
Thank you so much for choosing
Comfee’ appliances.
We really appreciate your choice
and would love to help you get started.
Customer Assistance
1-866-646-4332

| General | Details |
|---|---|
| Name | comfee CDC22P1AWW Compact Dishwasher |
| Make | comfee |
| Language | English |
| Filetype | PDF (Download) |
| File size | 0.91 MB |


COMFEE CDC22P1ABB Dishwasher

COMFEE CDC22P Mini Dishwasher

comfee CDC22P4AWW Dishwasher

COMFEE KWH-TD602E-S Compact Dishwasher

comfee FD1201P-W Dishwasher

COMFEE TD802 Table Top Dishwasher

Comfee CDC22P2AWW Dishwasher

comfee CDC22P Dishwasher

COMFEE FD1435E-W Slimline Dishwasher

COMFEE CDC22P1ABB Countertop Dishwasher

comfee CDC22P1AWW Compact Dishwasher Overview
Summary of Contents
- Page 1: This guide will help you get started, for full details, please refer to the instruction manual. You’ll soon be enjoying your new appliance. IMPORTANT: Please confirm whether the supplied adapter is suitable for your faucet tap. Once you open the water supply line, the inlet hose will be pressurized. IMPORTANT: If your inlet hose is not a 3/4 inches male threaded, you'll need an adapter to ensure a proper fit. IMPORTANT: If the water pipes are new or have not been used for an extended period of time, let the water run to make sure that the water is clear and free of impurities. To get the best performance from your dishwasher, read all operating instructions before using it for the first time. If you require any technical guidance or find that your washing machine is not operating as intended, a simple solution can often be found in the troubleshooting section of the Owner’s Manual. Commonly seen error codes include E1 for longer inlet time, E3 for not reaching required temperature, and E4 for overflow. Thank you so much for choosing Comfee’ appliances.

BLAUPUNKT 5VF4X00BXB Dishwasher
EVERDURE DWC066WE 55cm 6 Place Settings Free Standing Dishwasher

Whirlpool 859991663300 Dishwasher

Whirlpool GU2800XTVS Full Console Dishwasher

Haier HDWE15-46BK6EG Dishwasher

BOSCH SPV4EMX25G Dishwasher

ASKO D5636XXL Dishwasher

FISHER PAYKEL DD24DV2T9-N Dishwasher

FISHER and PAYKEL DD60SDFHTX9 Contemporary Tall Dishwasher

ORANIER GSV660 Dishwasher