
Hotpoint H8I HP42 Fully Integrated Dishwasher


CAPACITY: 14 standard place-settings
LOADING THE RACKS
LOWER RACK
TOP RACK
For pots, lids, plates, salad bowls, cutlery etc. Large plates and lids should ide-
ally be placed at the sides to avoid interferences with the spray arm.
The lower rack has tip-up supports which can be used in a vertical position
when arranging plates or in a horizontal position (lower) to load pans and
salad bowls easily.
The top rack provides
a targeted cleaning
Wash Zone for bowls,
mugs, even big plates
and cutlery that you’d
normally load in the
lower racks, making
extra space for the
rest of the day’s
dishes.
A separate arrangement of the cutlery makes
collection easier after washing and improves
washing and drying performance.
Knives and other utensils with sharp edges
must be positioned with the blades facing
downwards.
(loading example for the lower rack)
3D ZONE WASH
3D Zone Wash uses additional water jets located
both: in the lower and upper part of the dishwasher
to wash more intensively heavily soiled items by
increasing water coverage on dishes.
Example: Load pots and casseroles facing the lower
part of 3D Zone Wash components and activate the
UPPER RACK
Load delicate and light dishes: glasses, cups, sa-
ucers, low salad bowls.
The upper rack has tip-up supports which can be
used in a vertical position when arranging tea/ 3D Zone Wash option on the panel.
dessert saucers or in a lower position to load
bowls and food containers.
CUTLERY BASKET
It is fitted with top grids for improved cutlery arrangement.
It must only be positioned at the front of the lower rack.
Knives and other utensils
with sharp edges must be
placed in the cutlery basket
with the points facing
(loading example for the upper rack)
Adjusting the height of the upper rack
The height of the upper rack can be adjusted: a high po-
sition to place bulky crockery in the lower basket and a low
position to make the most of the tip-up supports by cre-
ating more space upwards and avoiding collision with the
items loaded into the lower rack.
The upper rack is equipped with an Upper Rack height ad-
juster (see figure), without pressing the levers, lift it up by
simply holding the rack sides, as soon as the rack is stable
in its upper position. To restore to the lower position, press
the levers A at the sides of the rack and move the basket do-
wnwards.
downwards or they must be
positioned horizontally in
the tip-up compartments on
the upper rack.
We strongly recommend that you do not adjust the height of the rack
when it is loaded. NEVER raise or lower the basket on one side only.
Foldable flaps with adjustable position
The side foldable flaps can be folded or unfolded
to optimize the arrangement of crockery inside
the rack. Wine glasses can be placed safely in the
foldable flaps by inserting the stem of each glass
into the corresponding slots.
Depending on the model:
• to unfold the flap there is needed to slide it up and
rotate or release it from the snaps and pull it down.
• to fold the flap there is needed to rotate it and slide the
flap down or pull it up and attach the flap to the snaps.
CARE AND MAINTENANCE
CLEANING THE FILTER ASSEMBLY
Regularly clean the filter assembly so that the filters do not clog and that
the waste water flows away correctly.
Using the dishwasher with clogged filters or foreign objects inside the fil-
tration system or spray arms may cause unit malfunction resulting in loss of
performance, noisy work or higher resources usage.
The filter assembly consists of three filters which remove food residues
from the washing water and then recirculate the water.
B
The dishwasher must not be used without filters or if the filter is loose.
A
At least once per month or after every 30 cycles, check the filter assembly
and if necessary clean it thoroughly under running water, using a non-me-
tallic brush and following the instructions below:
A
1
2
1. Turn the cylindrical filter A in an anti-clockwise direction and pull it out
(Fig 1). It is important when reinstalling the filter that the two trian-
gles shown on the zoom meet.
2. Remove the cup filter B by exerting a slight pressure on the side flaps
(Fig 2).
3. Slide out the stainless-steel plate filter C (Fig 3).
4. In case you find foreign objects (such as broken glass, porcelain,
bones, fruit seeds etc.) please remove them carefully.
5. Inspect the trap and remove any food residues. NEVER REMOVE the
wash-cycle pump protection (shown by an arrow) (Fig 4).
After cleaning the filters, replace the filter assembly and fix it in
position correctly; this is essential for maintaining the efficient
operation of the dishwasher.
C
4
3
4

| General | Details |
|---|---|
| Name | Hotpoint H8I HP42 Fully Integrated Dishwasher |
| Make | Hotpoint |
| Language | English |
| Filetype | PDF (Download) |
| File size | 9.15 MB |
 (1 votes, average: 5.00 out of 5)
 Loading...

Hotpoint H7I HP42 L UK Dishwasher

Hotpoint H7F HP33 UK Dishwasher

Hotpoint H7F HS41 UK Full Size Dishwasher

Hotpoint H8I HT59 LS UK Dishwasher

Hotpoint H7F HS51 Dishwasher

Hotpoint H7FHS41 Dishwasher

Hotpoint HA3FC10BS7A0S Dishwasher

Hotpoint H7F HS41 X Dishwasher

Hotpoint 869991662940 Dishwasher

Hotpoint H7I HT59 L Dishwasher


BOSCH DF480100 Dishwasher

HOBART AM16 Commercial Dishwasher

AEG GS60AIM Dishwasher

BOSCH SPI6ZMS01D Undercounter Dishwasher

VALBERG FBI16S43A 16 Dishwasher
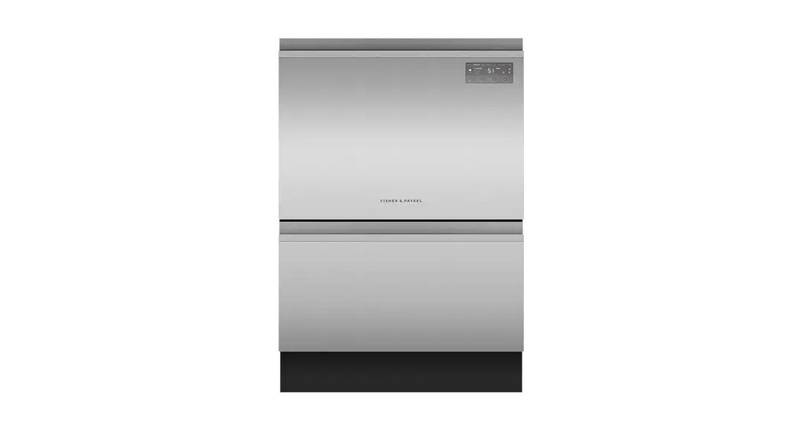
FISHER AND PAYKEL DD24DT2NX9 Contemporary Tall Dishwasher

BOSCH SHX78CM2N 24 Dishwasher

SIEMENS SN65Z802BE Dishwasher

KUCHT KD240PR Panel Ready Dishwasher

FISHER PAYKEL DD60D4HNX9 Dishwasher