
PKM GSP12A++7TI2 Dishwasher
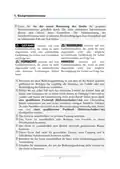





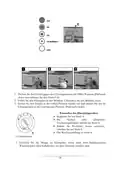
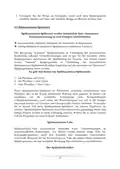



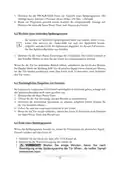
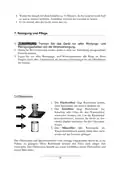
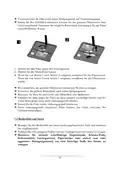





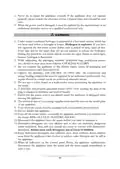


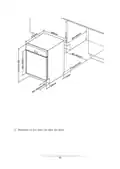

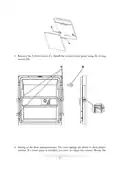


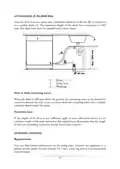
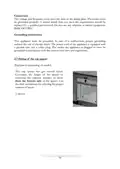


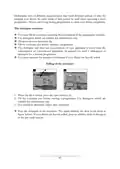



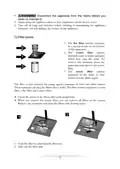





3. When operating from step 1 to 2, you remove the filter system, when operating
from step 2 to 1, you install the filter system.
❖ We recommend to clean the entire filter system once a week.
❖ Remove bigger remnants after each programme.
❖ Clean the coarse and micro filter with a washing-up brush.
❖ Do not knock against the filters as you will damage them. Your appliance will not
work properly if the filters are damaged.
❖ Always install the filters properly.
❖ Improperly installed filters may damage the appliance and dishes.
7.2 Spray arms
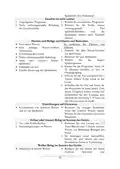
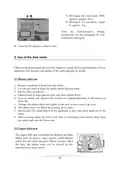
➢ Clean the spray arms regularly as
chemicals and minerals may clog the
nozzles and bearings.
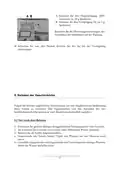
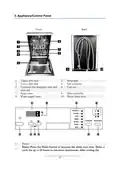
➢ To remove the upper spray arm unscrew
the nut (clockwise) and remove the spray
arm. To remove the lower spray arm, lift
it upwards.
➢ Clean the spray arm with warm soapy
water and the nozzles with a soft brush.
➢ Rinse the spray arm with flowing water
and reinstall it.
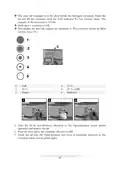
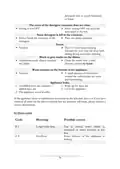
1: open.
7.3 Control panel and appliance
❖ Clean the control panel with a soft damp cloth and dry it carefully.
❖ Clean the exterior of the appliance with a suitable polish.
❖ Never use sharp-edged items, scouring pads, scouring agents, paper
towels or other abrasive and aggressive detergents to clean any component
of the appliance.
7.4 Door
❖ Clean the sides of the door with a warm damp cloth.
❖ Clean the exterior surface with a suitable polish.
❖ Never use sharp-edged items, scouring pads, scouring agents, paper
towels or other abrasive and aggressive detergents to clean the door of the
appliance.
73

| General | Details |
|---|---|
| Name | PKM GSP12A++7TI2 Dishwasher |
| Make | PKM |
| Language | English |
| Filetype | PDF (Download) |
| File size | 0.94 MB |
 (1 votes, average: 5.00 out of 5)
 Loading...

PKM GSP9-6TI Dishwasher


FISHER and PAYKEL DD60ST4ZB9 Contemporary Tall Dishwasher

Thermador DWHD660EFM Dishwasher

AEG FSE83847P Fully Integrated Dishwasher

BOSCH SPS4EMW61E Dishwasher

FISHER PAYKEL DW60FC2X2 Dishwasher

ggmgastro GLOZ50 Undercounter Dishwasher

BOSCH SHE53CE5SS Recessed Handle Dishwasher

SIEMENS SR73HX76ME Dishwasher

AEG FSB53927Z Integrated Dishwasher

smeg Dishwasher